

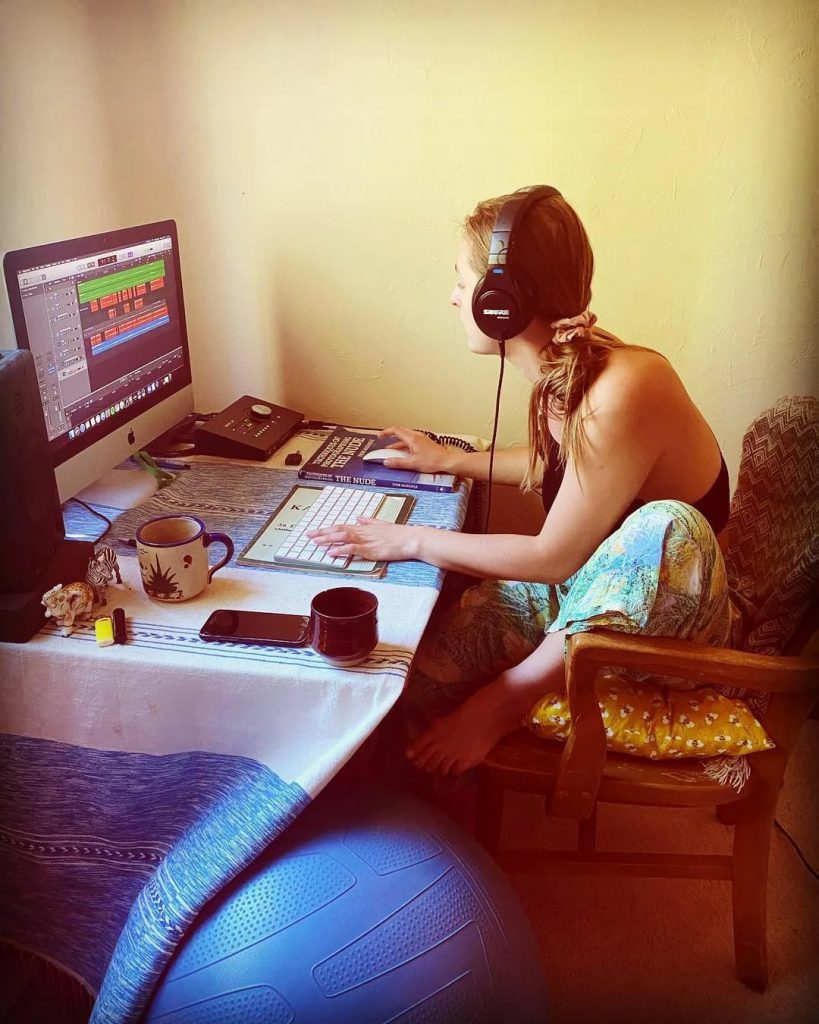
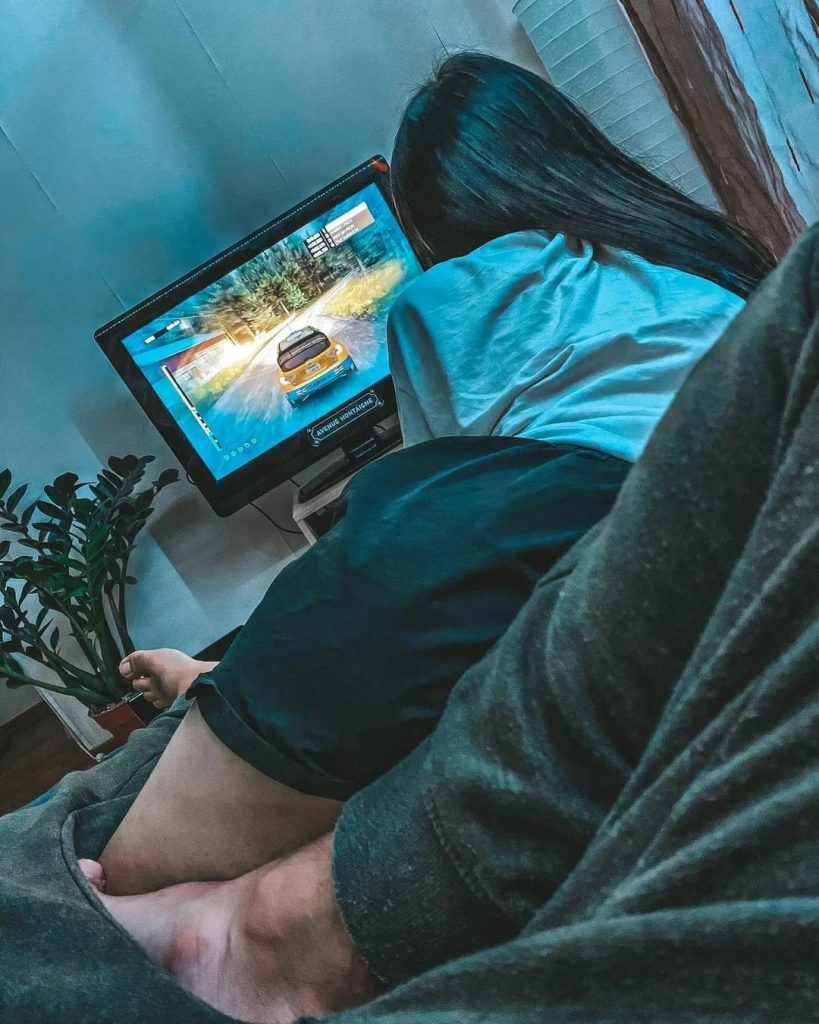
Has the thought of using a laptop as monitor for PS4 come across your mind at any point? Perhaps, this thought suddenly pops into your head once in a while too. Although it’s more fun having a large screen television, sometimes in an emergency, perhaps you may just want your laptop replaced on it. There are many advantages of using a laptop as a monitor for PS4. Here are some of them:
If you do not have a USB adapter for PS4 for laptop as monitor
Then you can use your mouse or keyboard for connecting to it. To start using it, all you have to do is turn off the power, plug in the USB adapter, and then you will be able to start using your PC as a monitor for PS4 by using your mouse or keyboard. You need to follow the onscreen instructions to start using the controller. How to Use Laptop as Monitor for PS4?
Remote Play For those who want to connect their laptop to the internet, then remote play for PS4 is the option. Remote play enables the user to play different types of PS4 games from other computers. It works very much like internet browsing, except that it allows you to play different types of video games from different devices other than your laptop. For those who don’t want to connect their laptop via USB, then there are various other options available. The first one is to use optical audio cables that enable you to connect your music device to your laptop through your sound card.
External wireless kits connect your laptop as monitor to your phone via USB
In fact, it is pretty easy to set up a wireless connection with your ps4 console. You just have to locate the necessary usb slots within your ps4 console and plug in the usb cable. When you connect your PC to the device, it automatically detects the device and the software to identify the device. Then you just need to configure your connection settings, pick the game you want to play and you are good to go. It’s that simple!
There are two ways of connecting your laptop screen to your PC, one is a manual one where you have to connect each component separately. The second one is an automatic connection where all you need to do is open the controller setup interface, pick a game, input your ps4 games data (missions, stats, player names, etc.) and then pick the “connect” button.
There are two ways of connecting your laptop with your console
Either through a wireless connection or an optical audio connection. In most of the cases using the wireless option, it is recommended to use the dongle, for instance, mico transmitter/receiver, wireless mouse, or optical audio input/outputs. On the other hand, using an optical audio device such as Speakers/headphones, etc., you can only use it for recording but not for video games. So, which one to choose really depends on you? If you are good at DIY pieces of stuff, then opt for the manual connection. If not, then go for the automatic one.
Last but not least, if you decide to use remote play, there are two more things you need to do before you actually begin to video capture card software installation. First, install video capture card software on your computer. Second, put your camera on the PC, preferably by using a USB cable. Thirdly, open your laptop case and plug in the USB cable from your video capture card to your computer. This is done to ensure that the connection is actually working.
Conclusion
Finally, after you have done all of those steps, it’s time to start your video capture process. This can be done through connecting the camera up to your computer’s DVI output port. The next step is to locate the “video” icon on your desktop or the taskbar. Select this icon and it will open a new window or an application, depending on your windows version. Now, you can start capturing your game’s movements with your laptop’s display!