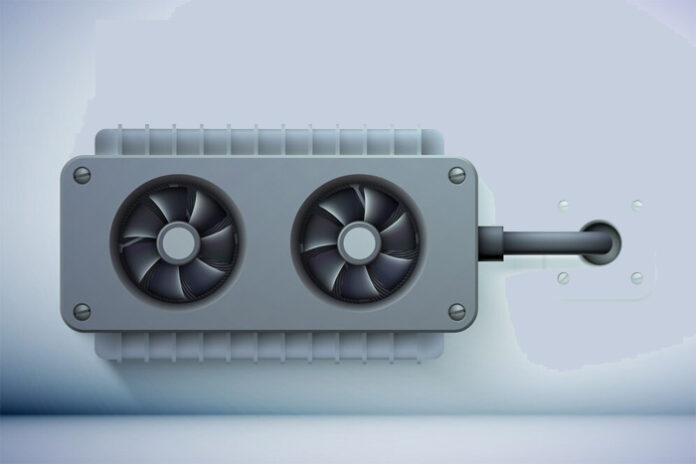
A radon fan is specially designed to mitigate the level of radon in your home. These fans are incredibly useful and are pretty easy to install. But even then, there are quite a few people who struggle with operating and installing this fan. And that is exactly why we’ve come up with this article. In the next couple of sections, you will find a complete walkthrough that’ll guide you about the nitty-gritty of installing a radon fan.
Why Do I need a radon fan?
Radon is a potentially dangerous, colorless, and odorless gas that develops from the decaying levels of Uranium. It inherently contains natural radioactive decay which can be incredibly harmful if it is somehow trapped in the buildings. Radon gas usually gets into your home via the floor drains, the spaces with dirt crawl, the various sump pumps, the cracks along your wall, the foundation, and so on. When you install a radon fan, it will automatically purify and clean the air within your homes thereby reducing the content of radon gas. Having said that, always make it a point to browse through the best radon fan reviews, in order to ensure that the fan you’ve splurged on totally makes the cut.
How To Install a Radon Fan?
Follow these steps in proper order and you’ll soon be able to install your very first radon fan.
Mark and drill holes
In order to start out, you will have to take a smoke pencil and start marking the hole on your floor, right where the PVC vent pipe will pass through. Once you’re done with that, take a rotary hammer and start drilling small holes. These holes are going to be along the outline you’ve created of your pipe. After drilling the holes, use a demolition hammer and start chipping a hole that’ll hold your PVC pipe.
Cleaning the Dirt and Digging a hole
Now start using a drill along with your soil auger and pull the entire dirt accumulated under your floor. Now slowly dig a hole in this accumulated dirt. Use your hands to do the job and keep digging until the hole is at least 20 inches deep.
Install the Vent Pipe
Once you’ve completed working on the hole, start installing the PVC pipe right inside it. As you set it, position it in a proper way so that it perfectly passes through the attic along the walls.
Now that you have set and installed the pipe, it is time for stuffing the base of your pipe. Take foam from the rubber backer rod and start stuffing the base of your pipe. As you do this, make sure that the pipe doesn’t touch your basement floor. It should be positioned in a slightly suspended manner.
Keep the hole sealed
After suspending the pipe, it is now time to start sealing the hole. You can use hydraulic cement to seal the hole that has the pipe. This will ensure that the pipe is perfectly fixed.
Finally, now that you have completely pushed this PVC pipe right up the attic, try connecting it and making linkhouse to your radon fan.
Connect the cap of your Roof
After connecting your radon fan to the PVC pipe start pushing the pipe up through the fan in either your attic or your roof. Once you reach the roof, immediately start connecting the roof cap.
Installing the Fan
In your basement, start installing a system monitor that is going to ensure the proper functioning of the radon fan.
Final Drilling
Take your drill and start drilling a hole along your basement. This hole should have a minimum diameter of one inch. Now start turning your fan on with a smoke pencil and analyze the draw of the fan. Well, that’s all you had to do in order to install a radon fan. This fan is now up and ready and you can start using it right away.
