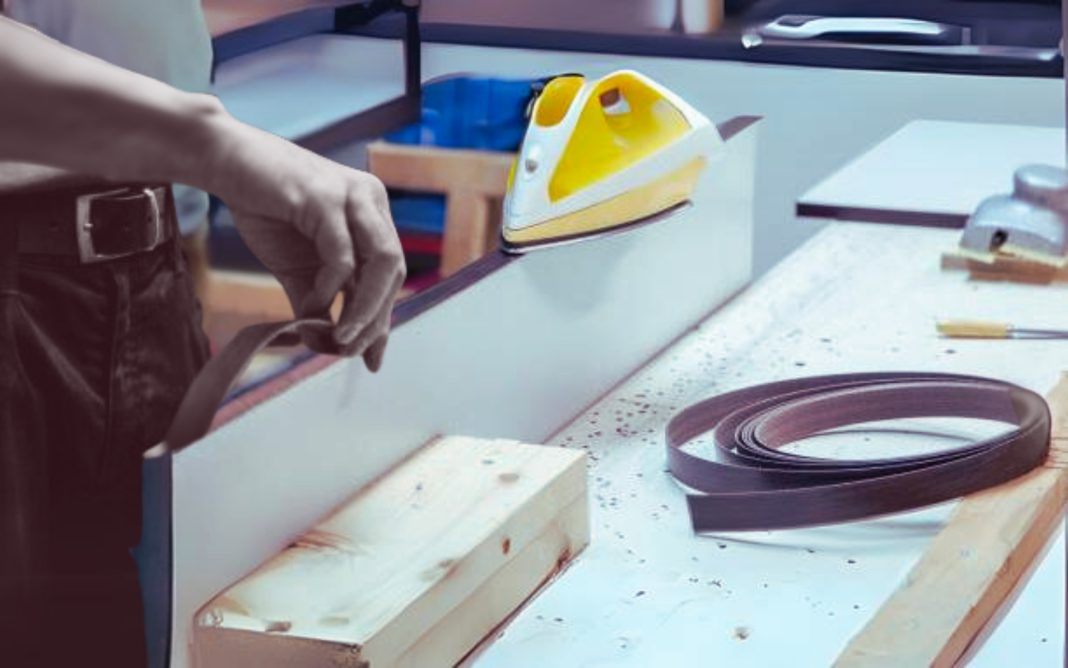
Edge banding is a crucial aspect of woodworking, providing a polished and refined look to furniture and cabinetry. Achieving a perfect matching edge banding requires attention to detail, precision, and the right techniques. Whether you are a seasoned woodworker or a DIY enthusiast, these seven tips will guide you toward achieving flawless edge banding that seamlessly blends with your project.
1. Selecting the Right Edge Banding Material
The foundation of perfect edge banding lies in selecting the appropriate material. Choose edge banding that matches the color and grain pattern of your project’s wood. Additionally, consider the thickness and width of the banding to ensure a seamless integration with the substrate. High-quality edge banding materials, such as PVC, ABS, or wood veneer, will provide durability and longevity to your finished product.
2. Pay Attention to Grain Direction
To achieve a professional finish, it’s essential to pay attention to the grain direction of the edge banding material. Ensure that the grain runs parallel to the length of the board to create a cohesive and natural appearance. This attention to detail will make a significant difference in the final aesthetics of your project, as mismatched grain directions can be easily noticeable and diminish the overall quality of the piece.
3. Invest in Quality Tools
Using the right tools is key to achieving precision in edge banding. Invest in high-quality tools such as a good edge banding trimmer, a quality adhesive applicator, and a reliable hot air gun. These tools will not only make the process more efficient but will also contribute to the overall quality of the finished edge banding. A sharp, well-maintained trimmer, for example, ensures clean and accurate cuts, resulting in a seamless bond.
4. Proper Surface Preparation
Before applying edge banding, it’s crucial to prepare the surface of the substrate adequately. Ensure that the surface is clean, smooth, and free from any dust or debris. Use sandpaper to eliminate any imperfections and create a surface that promotes strong adhesion. Properly prepared surfaces not only enhance the bond between the substrate and edge banding but also contribute to a professional and refined appearance.
5. Use the Right Adhesive
Choosing the right adhesive is paramount in achieving an edge banding match. Different edge banding materials may require specific types of adhesives. Common options include hot melt adhesives, contact cement, or iron-on adhesives. Consider the application method, drying time, and bonding strength when selecting an adhesive. Applying the adhesive evenly and allowing it to cure properly will ensure a strong and durable bond between the edge banding and the substrate.
6. Master the Art of Trimming
Trimming the excess edge banding material is a critical step in achieving a seamless finish. A precision trimmer or a router equipped with a flush-trim bit can be used for this purpose. Take your time and make sure to trim the excess material flush with the substrate. Pay extra attention to corners and curves, as these areas require careful handling to maintain a consistent and professional appearance. A steady hand and a keen eye for detail will go a long way in mastering the art of trimming.
7. Apply Heat for a Perfect Finish
If you’re working with thermoplastic edge banding materials such as PVC or ABS, applying heat is essential for achieving a perfect match. A hot air gun can be used to activate the adhesive on the edge banding, allowing it to conform seamlessly to the substrate. Take care not to overheat the material, as this can lead to discoloration or uneven bonding. Work methodically, applying heat evenly and using a roller to ensure proper adhesion.
Final Thought
Perfectly matching edge banding requires a combination of skill, attention to detail, and the right tools and materials. By selecting the appropriate edge banding material, paying attention to grain direction, investing in quality tools, preparing the surface adequately, using the right adhesive, mastering the art of trimming, and applying heat for thermoplastic materials, you can elevate your woodworking projects to a professional level. Follow these seven tips, and you’ll be well on your way to achieving flawless edge banding that enhances the overall aesthetics and durability of your creations.
